A heavy press conveyor chain stabilizer needs a planned installation and commissioning sequence. The work falls into four stages: preparation before installation, installation, commissioning, and maintenance after setup.
1. Preparation before installation
Tools and materials. Prepare qualified tools and consumables, including wrenches, screwdrivers, hammers, bolts, and nuts. Confirm they meet the installation requirements.
Chain selection. Calculate the working load based on the actual press conditions. Select the chain type and size with a safety factor of 8 or higher. For corrosive conditions, use stainless steel chain or surface-treated chain. For high-temperature conditions, use heat-resistant alloy chain. For heavy loads, use double-row or multi-row chain.
Installation position. Determine the installation position and direction based on the press structure and use. Keep the installation area clean and free of debris.
Part inspection. Confirm the press anchor bolts and stabilizer parts are in the correct positions.
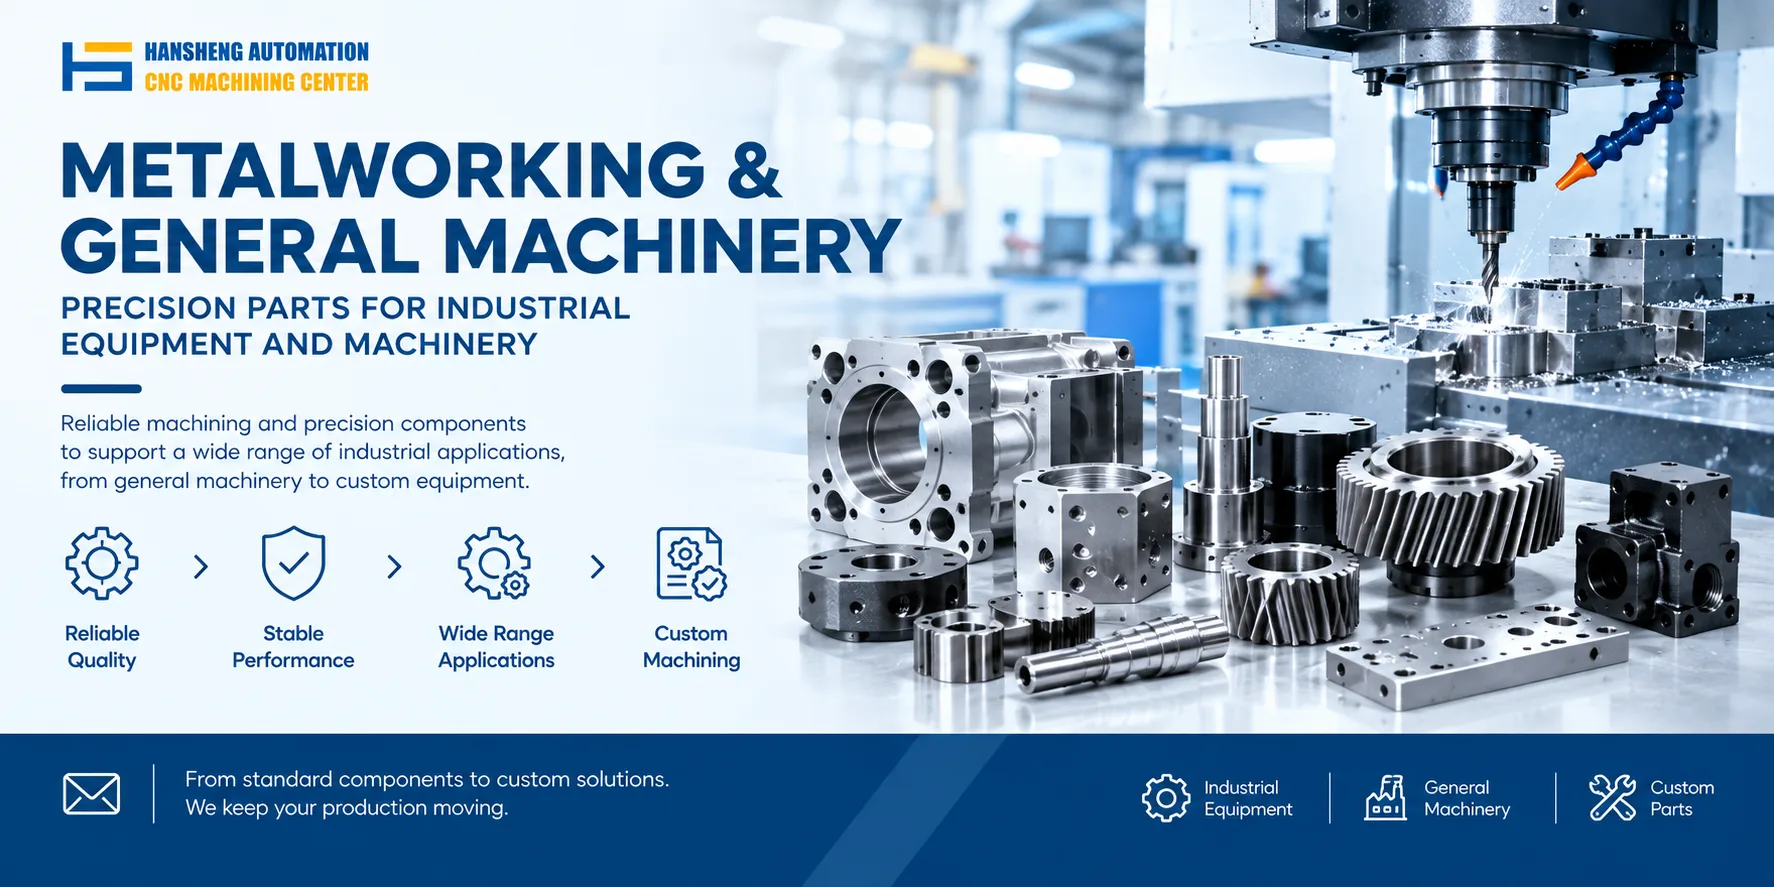
If a sprocket, connector, or mounting part needs replacement or adjustment, Hansheng Automation can machine it from customer drawings. We match material, tolerance, and surface treatment to the working conditions.
2. Installation
Sprocket installation. Hang both ends of the sprocket on the shaft. Keep the steering angle and length at both drive ends consistent. The length difference between the two driving sides should not exceed 5 mm.
Chain connector installation. Select connectors that match the design. Use special tools to fix them firmly.
Chain connection. Connect the two chain ends to the press connectors. Keep chain tension even and connections tight. Use wrenches and bolts to fix the chain. Avoid tension that is too tight or too loose.
Stabilizer installation. Install the stabilizer at the designed position. Use a laser alignment instrument to keep sprocket concentricity. Control guide rail straightness error within 0.1 mm/m.
Other matching installation. Add intermediate safety protection devices as needed. Adjust the reducer and motor with the drive wheel as the reference. The bracket must align with the longitudinal center of the press.
3. Commissioning
Initial tension. Set the initial tension to the manufacturer recommended value. After 24 hours of operation, recheck and adjust it to the proper state.
No-load trial run. Run the machine without load for 4 to 8 hours. Use a torque wrench to check preload consistency of all connectors. Watch motor temperature and bearing condition. Handle abnormal noise or overheating immediately.
Load commissioning. Increase the load step by step to the rated value. Watch for material slipping during operation. Prevent teeth from hitting the frame or accessories. Adjust tension and adjustable component parameters in time.
4. Maintenance after installation and commissioning
Lubrication. Set a lubrication plan based on working conditions. Use high-temperature grease, extreme pressure grease, or another suitable lubricant. Lubricate per shift or per week. Clean contaminants from the chain surface before lubrication. Record each lubrication and monitor the result.
Regular inspection and maintenance. Check running noise, vibration, and lubrication daily. Check chain elongation and wear weekly. Replace the chain if elongation exceeds 2%. Check sprocket tooth profile, guide rails, and connectors monthly. Perform a full tear-down inspection and replace worn parts quarterly. Perform major repair annually, complete a system evaluation, and update key components.
Hansheng Automation also provides drawing-based precision machining beyond chain stabilizers. Our custom parts serve yacht components, RC car components, tobacco packaging machinery parts, filling machinery parts, and other equipment such as printing machinery, food machinery, and medical devices. We work from customer drawings for single pieces or small batches.