Alignment offset in fully automatic screen printing machines can be corrected by focusing on three main areas: hardware inspection, parameter calibration, and process optimization. Most common offset problems can be resolved through targeted adjustments.
1. Basic hardware inspection and correction
Check platform and squeegee fixation: Stop the machine and disconnect power first. Confirm that the suction cups and clamps on the printing table are not loose and that the substrate is flat and has not shifted. Then check whether the fixing bolts of the squeegee and screen frame are tight. Retighten as needed and test alignment accuracy.
Clean photoelectric sensing components: Offset is often caused by ink or dust blocking the photoelectric sensors. Use a lint-free cloth moistened with a small amount of isopropyl alcohol to wipe the CCD lens and alignment light source lens to prevent contamination from affecting recognition accuracy.
Inspect transmission mechanism wear: Check the X/Y axis guide rails and timing belts for dust accumulation, looseness, or deformation. If belt tension is insufficient, retension it. If guide rails are severely worn, replace the corresponding parts.
2. Parameter calibration correction
Recalibrate alignment reference: Enter the machine's alignment calibration interface, select origin reset, recapture the reference mark points, enter accurate alignment coordinate parameters, and delete old offset calibration data.
Adjust recognition threshold and speed: If the alignment mark recognition deviation is too large, increase the CCD image recognition threshold appropriately and reduce the machine's operating speed so the system has enough time to complete alignment recognition.
Correct screen stretching error: Screens that have been used for a long time may stretch and deform. Use the screen calibration function to reset the screen's reference coordinates and compensate for the offset caused by stretching.
3. Process and environment optimization correction
Adjust substrate suction parameters: For paper or film substrates, increase the table suction pressure appropriately to prevent slight movement of the substrate during printing that could cause offset.
Control workshop temperature and humidity: Temperature and humidity fluctuations can cause thermal expansion or contraction of the substrate and screen. It is recommended to keep the workshop temperature at 20–25°C and relative humidity at 50–60%.
Clean ink residue regularly: Periodically clean ink buildup under the screen to prevent ink hardening from affecting screen flatness and causing alignment offset.
Note: Repairs or adjustments involving internal circuits or precision transmission components should be performed by professional maintenance personnel to avoid equipment damage from improper operation.
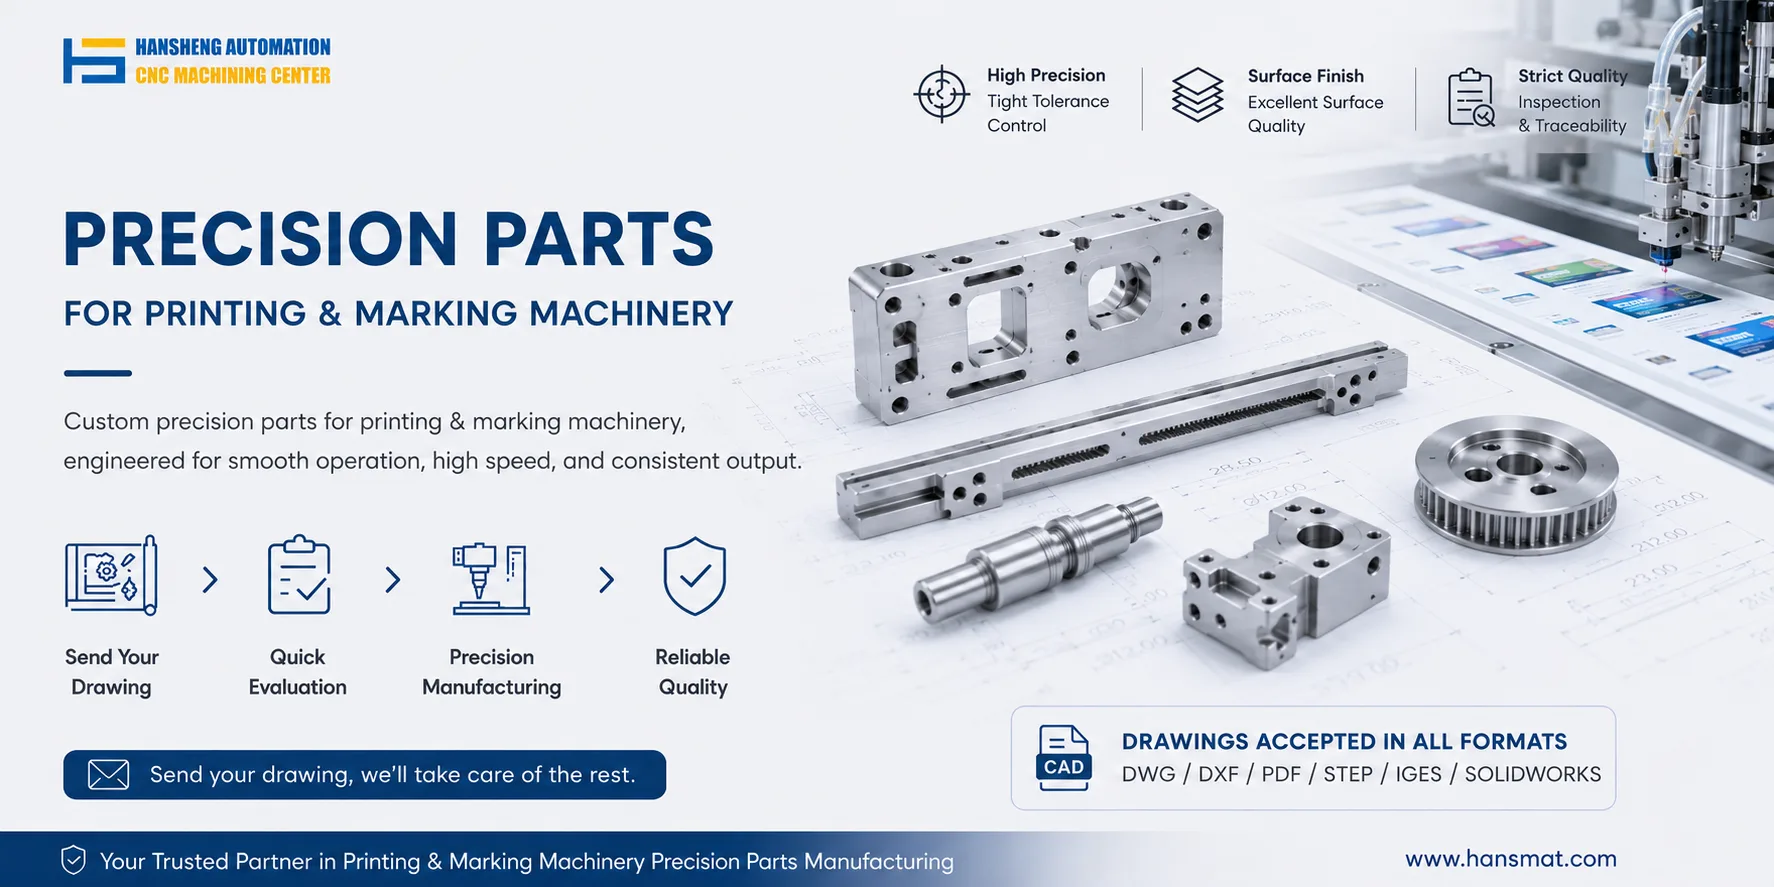
For non-standard replacement parts such as guide rails, timing belts, or sensor brackets needed during correction, Hansheng Automation can provide custom machining based on customer drawings or sample parts.