The standard operating process for a CCD die-cutting machine includes four core stages: equipment preparation, parameter setting, trial cutting verification, and formal production. Operations must strictly follow safety regulations.
1. Pre-Operation Preparation
Equipment inspection: Confirm that power and air pressure are stable, typically 0.5–0.7 MPa. Clean the machine table and lens, and check that the steel cutting die is intact and free from edge damage.
Material installation: Thread the roll material correctly through the guiding and conveying system, then fix it on the take-up shaft. Pay attention to tension adjustment to avoid wrinkling.
Die installation: Fix the cutting die precisely on the die-cutting platform. Adjust the height of the bottom die rubber strip to ensure uniform pressure. Initial pressure is usually set at 20%–30% of the rated value.
2. Alignment and Parameter Setting
CCD visual positioning:
Start the camera scanning and select Mark points or graphic features on the material in the system.
Set the recognition contrast threshold, usually 60%–80%, to ensure stable capture of positioning points.
Perform initial alignment. Fine-tune the platform in the X/Y/θ axes so that the die pattern completely matches the material pattern.
Die-cutting parameter setting:
Cutting pressure: Adjust according to material thickness and die complexity. For example, PET film usually requires about 30–50 tons of pressure, while metal foil requires higher pressure.
Cutting speed: Initially set at medium to low speed, such as 20–40 strokes per minute, then gradually increase after trial cutting.
Step distance and stroke: Set the material feeding step according to product dimensions and adjust the cutting stroke to avoid excessive impact.
3. Trial Cutting and Accuracy Verification
Perform a single cutting cycle. Remove the sample and measure critical dimensions such as outer edge margin and cut quality.
Use a video measuring machine to check cutting alignment accuracy. The requirement is typically within ±0.05 mm.
If offset is found, compensate and correct the coordinate parameters in the CCD system, then repeat trial cutting until the standard is met.
4. Batch Production and Monitoring
Start automatic continuous production. During the initial stage, run at low speed and observe for 3–5 cycles.
Perform regular sampling inspection, such as every 50–100 pieces. Check dimensions and inspect for die-cutting burrs and waste discharge conditions.
During long operation, pay attention to equipment temperature rise. Clean the optical lens every 2 hours to prevent dust from affecting positioning.
5. Key Safety Practices
Never reach into the die-cutting area while the equipment is running. Maintenance must be performed with the power off and the emergency stop switch locked.
Wear protective gloves when installing the cutting die to prevent cuts from sharp edges.
Clean material fragments in a timely manner to avoid accumulation that could interfere with sensors or transmission components.
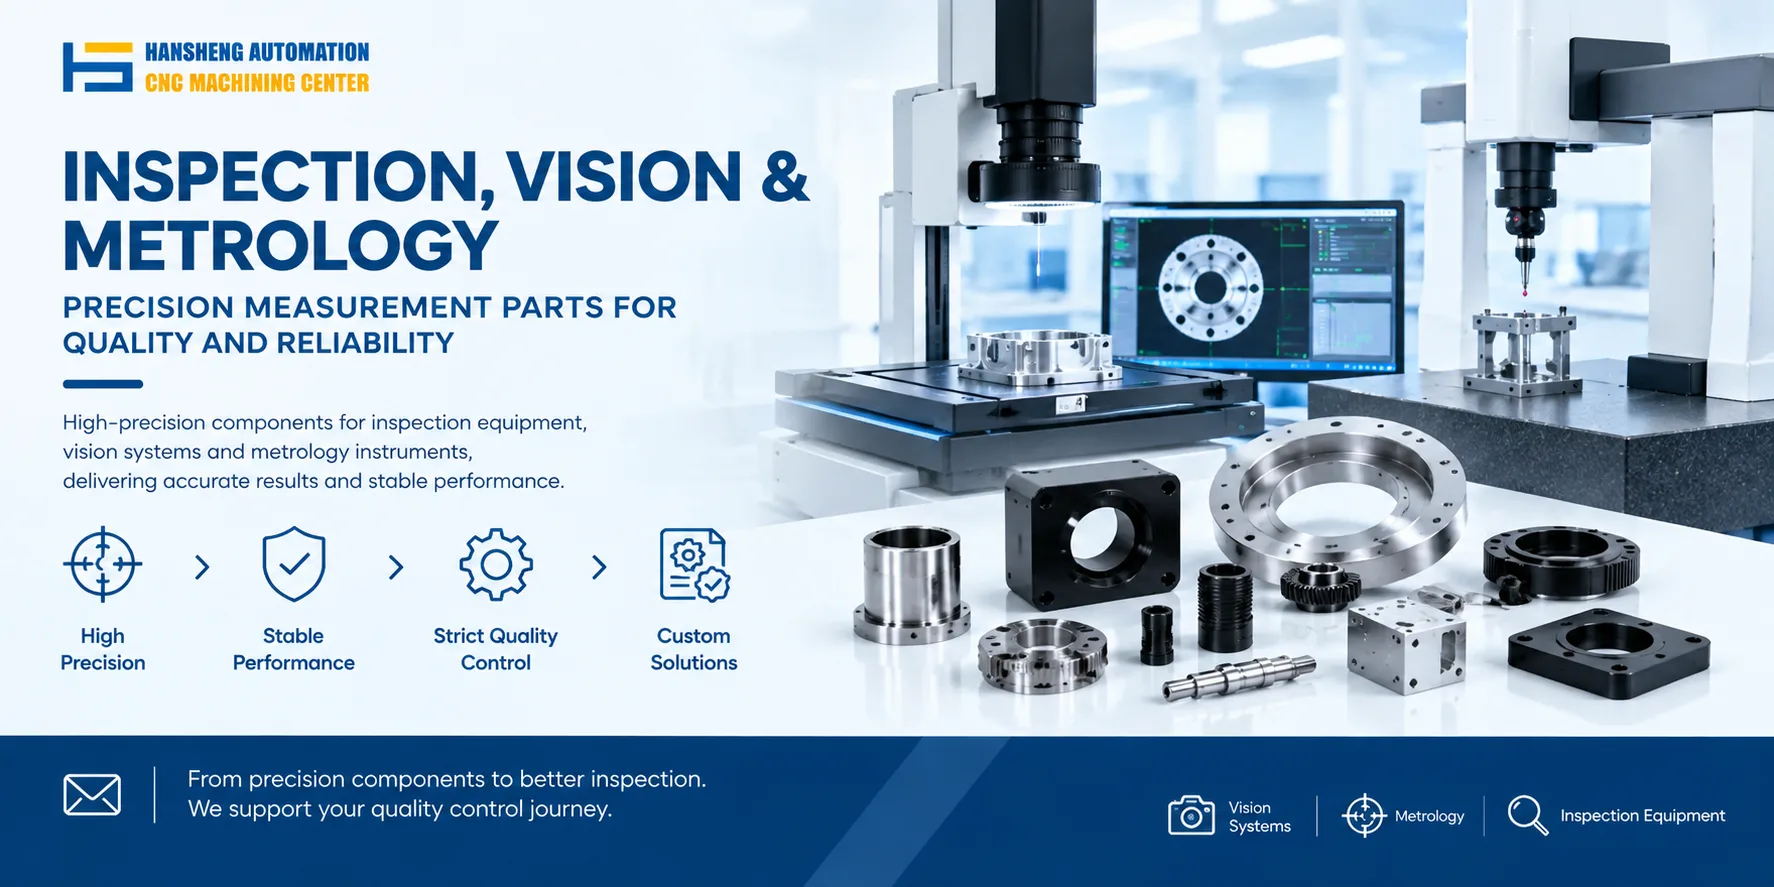
For precision-machined die plates, positioning fixtures, or non-standard mechanical components used in CCD die-cutting systems, Hansheng Automation provides custom machining services based on customer drawings.